"Finance Pal: Your Ultimate Financial Companion - Managing Money Made Easy"


Prerequisites.
Before getting started with any Flutter project it is advised to do the following:
Flutter SDK: Install Flutter by following the official installation guide.
Flutter Development Environment: Set up your preferred development environment. You can use Android Studio, Visual Studio Code, or any other IDE of your choice. Ensure you have the necessary Flutter and Dart plugins installed.
Some of the dependencies used in this project include:
dependencies:
  flutter:
    sdk: flutter
  Lottie: ^1.0.3 # A Flutter package for displaying animations.
  intro_slider: ^3.0.0 # A Flutter package for creating onboarding screens or introduction slides.
  charts_flutter: ^0.12.0 # A Flutter package for creating beautiful charts and graphs.
After including the dependencies in your pubspec.yaml run this command to install the dependencies
flutter pub get
What is Finance Pal About?
Finance Pal is a Flutter-based mobile application designed to help you manage your finances efficiently. The main aim of this app is to help individuals like you and me manage our finances efficiently while making the journey enjoyable.
The Building Process.
This project was divided into two different sections, which include:
The UI: I worked on the UI of this app and it was built using Flutter.
The Backend: My teammate Tito worked on the backend using Java Spring Boot for the backend, PostgreSQL as the database, and Gradle for dependency management which he connected to Outerbase.
The UI.

The flow of the app is as follows:
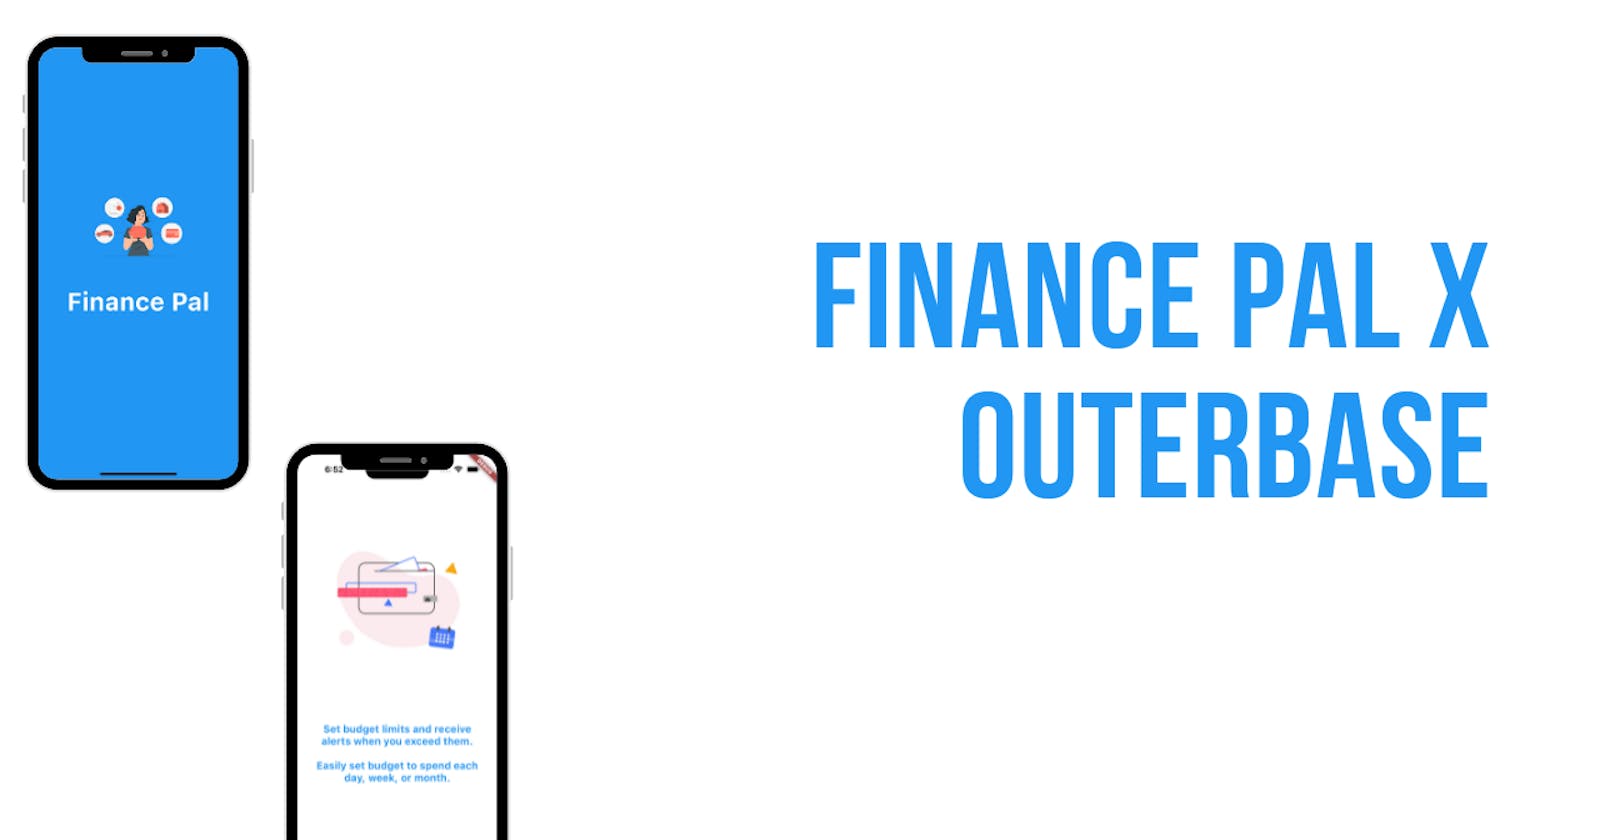
A splash-screen page: this displays the name of the app and also a cool illustration to match.
An onboarding page: this gives the users an idea of what the app is about, there a three onboarding screens that highlight the uses of the app.
A signup page: this is where users create their account, they are asked to provide the following: First name, Last name, Username, Email and Password,
A Login page: this is where returning users can log in using their Email and password.
Transactions page: after a successful login the user will be taken to the transactions page where they can input their spending, think of it as a notepad for your spending. There are four categories which include Food, Housing, Utilities and Miscellaneous. After selecting a category for the drop down you will then write the amount spent and you will click on the add transaction button to add it to the list.
NB: Your remaining budget is shown below your transaction page, each time you add a new item it automatically subtracts it from your budget.
Budgets page: the four categories are listed for you to write your budget for each.
Report and Analysis page: it shows a chart to represent your spending based on what is inputted on the transactions page.
User Support and FAQs page: just a page to answer some questions users might have. On the top right corner, there is a logout button which when clicked will ask for confirmation before logging out, if you click on yes it will take you back to the splash screen.
The Backend.
This is where Outerbase comes in, Outerbase is a cutting-edge, cloud-based database interface designed to elevate teamwork and efficiency. It introduces the power of EZQL, a natural language to SQL agents that simplifies data queries, making them accessible to both developers and non-technical team members. Outerbase enables real-time collaboration and offers workflow automation capabilities, streamlining database operations. With a user-friendly dashboard for creating data visualizations, it provides insights through graphs generated from database queries. Moreover, Outerbase offers ample storage space with a 1GB SQLite database and the ability to connect to existing Postgres and MySQL databases. It's a versatile solution suitable for developers seeking simplified database management, product teams requiring direct data access, and businesses aiming for comprehensive data views and cost reduction.
In essence, Outerbase is the go-to platform for modern, efficient, and collaborative database management, appealing to a wide range of users, from developers to product teams and businesses.
My teammate team-mate Tito, made use of Java Spring Boot for the backend, PostgreSQL as the database, and Gradle for dependency management to implement the following:
User registration and authentication: each time a new user signs up the person's information will be stored in the database to make it easier when the user wants to log in.
Transaction management with categories and tags: each time a new transaction is added it is stored in the database and based on request a user can get their spending per week or month.
Budget creation and tracking: each time a budget is put for a category it is also saved in the database to help a user know if they are spending under and over their budget.
Financial reporting and visualization: based on the transactions added a chart will be created to represent it.
Why Outerbase?
Modern Database Interface: Outerbase provides a modern, cloud-based database interface, which is user-friendly and intuitive. Its interface simplifies database management tasks, making it easier for developers like Tobi to work with the database efficiently.
Real-time Collaboration: Outerbase offers real-time collaboration capabilities. This is invaluable for a team working on a project, as it allows for concurrent access to the database. Multiple team members can work together on data-related tasks simultaneously, enhancing teamwork and efficiency.
Workflow Automation: Outerbase supports workflow automation. This means that you can automate repetitive database tasks, reducing manual work and the risk of human errors. It streamlines processes, making them more efficient and consistent.
Comprehensive Database View: Outerbase provides a comprehensive view of your database. This is beneficial for businesses, product teams, and developers alike. It offers a holistic perspective on your data, which can be valuable for decision-making and strategic planning.
Cost Reduction: Outerbase can contribute to cost reduction. By streamlining database management and automating workflows, it can potentially reduce the resources and time required for database-related tasks. This efficiency can lead to cost savings in the long run.
In summary, I connected my database to Outerbase to take advantage of its modern interface, EZQL for simplified queries, real-time collaboration, workflow automation, data visualization, comprehensive database view, and the potential for cost reduction. These features align with the goals of enhancing teamwork, efficiency, and data accessibility for your project.
How To Connect An Already Existing Database To Outerbase.
This database was created and hosted on Render and after that, it was connected to Outerbase.
The first thing to do is to create an Outerbase workspace.

After creating it you will see your dashboard and an option to connect a database, click on it.

You will be asked to create a new base. Since I'm connecting an already existing database I will select that option, you will select your database type and I am using Postgres so I will select that option and click continue.

Then next you will enter the connection details of the database you want to connect.


After that click on the button and wait for the base to be created

After this, you will be able to see your dashboards.

Then you can click on the view dashboard to take a look at the available tables. The picture below shows the table for
app_userit contains some information like created_date, id, email, first_name & last_name which are some of the things asked when signing up.

- You can further check out the columns to learn more information about the columns created like data type, default value and constraints.

By following the above steps you will be able to successfully connect your database.
Live Demo.
Summary.
Finance Pal is an open source app with anyone can contribute to at any given team.
Team members.
Precious: designed and developed the app and the author of this article.
Tito: worked on building the database and connecting it to Outerbase.
Notable Links.
The Github link for the app built using Flutter can be accessed here.
The Github link for the database built using Java Spring Boot for the backend, PostgreSQL as the database, and Gradle for dependency management can be accessed here.
Postman documentation for the backend can be found here.
Conclusion.
I would like to say a big thank you to Hashnode and Outerbase for organizing this hackathon. I have learned a lot of new things, like working with databases and exploring Outerbase too. Overall, it was a wonderful experience using new technologies with my existing knowledge to build a solution.