

Table of contents


No headings in the article.
Smartphones are among the most important devices for people nowadays. More than 60% of people check their phones first thing in the morning. To keep their audience interested, almost all companies, including retail outlets, have mobile apps. Numerous apps, including games, music players, cameras, and others, are created specifically for these cell phones to run on Android. Over 3.3 million apps are available in the Google Play store.
Once the application development procedure is complete, it is time to release your unique product to the public. First publications may be exciting and challenging. Not to worry. I will walk you through the Google Play Store release procedure today. Let's start by releasing your very first Android application.
Step 1: Create a Google Developer account.
To upload an app to the Google Play Store, you must have a developer account, and the procedure is extremely easy. You can start doing this at the very beginning of the app development process. You can't publish your app on Google Play if you don't sign up for a Google Developer Account.
To register for a Google Developer Account, you can use any of your active Google accounts or make a new one. It doesn't matter if it's a personal or business account. In the future, you can effortlessly migrate your app to another one.
The Google Play Developer Distribution Agreement must be signed, some personal information must be entered, and a $25 one-time registration charge must be paid before the creation process can begin. There is nothing difficult about it. Simply adhere to the directions.
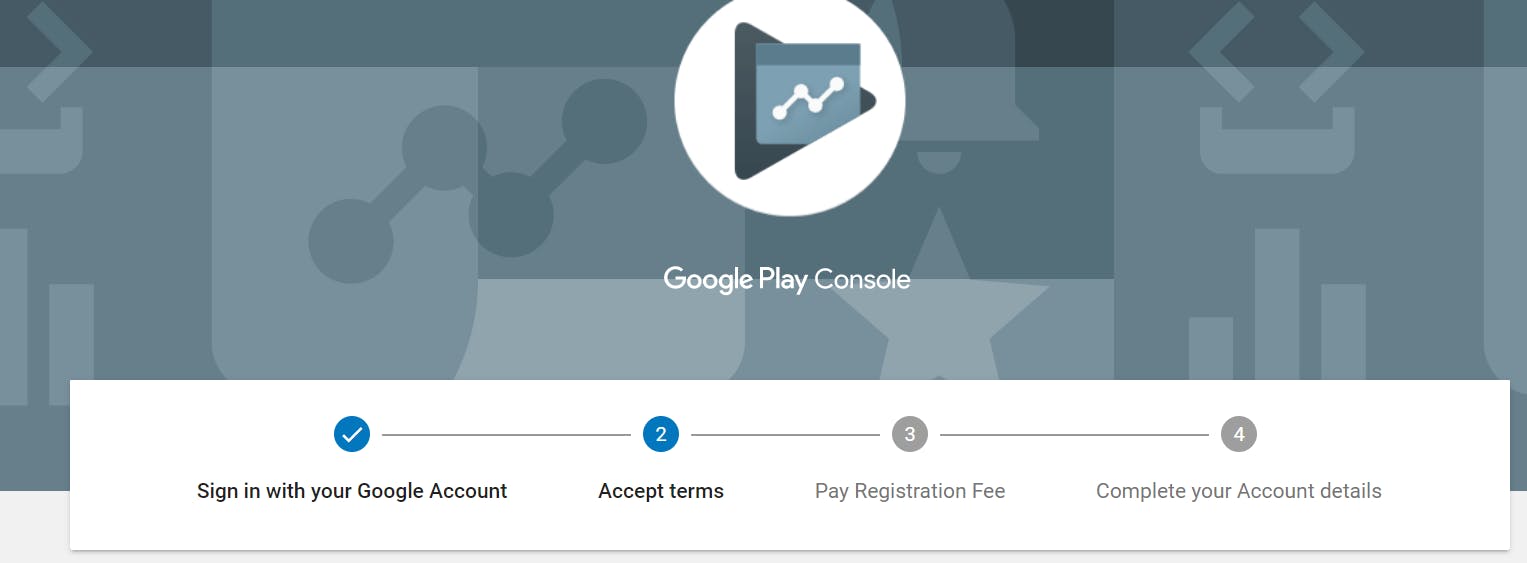
The account can be created in four simple steps:
Sign-In with Your Google Account
Accept Terms
Pay the Registration Fee of $25.
Complete Your Account Details
Step 2.
After you complete step 1, you will be redirected to this page, where you have to click on the "Create Application" button.

When you click it, a pop-up window similar to this one will appear where you can select your default language and the name of your app. then select "Create" from the menu.

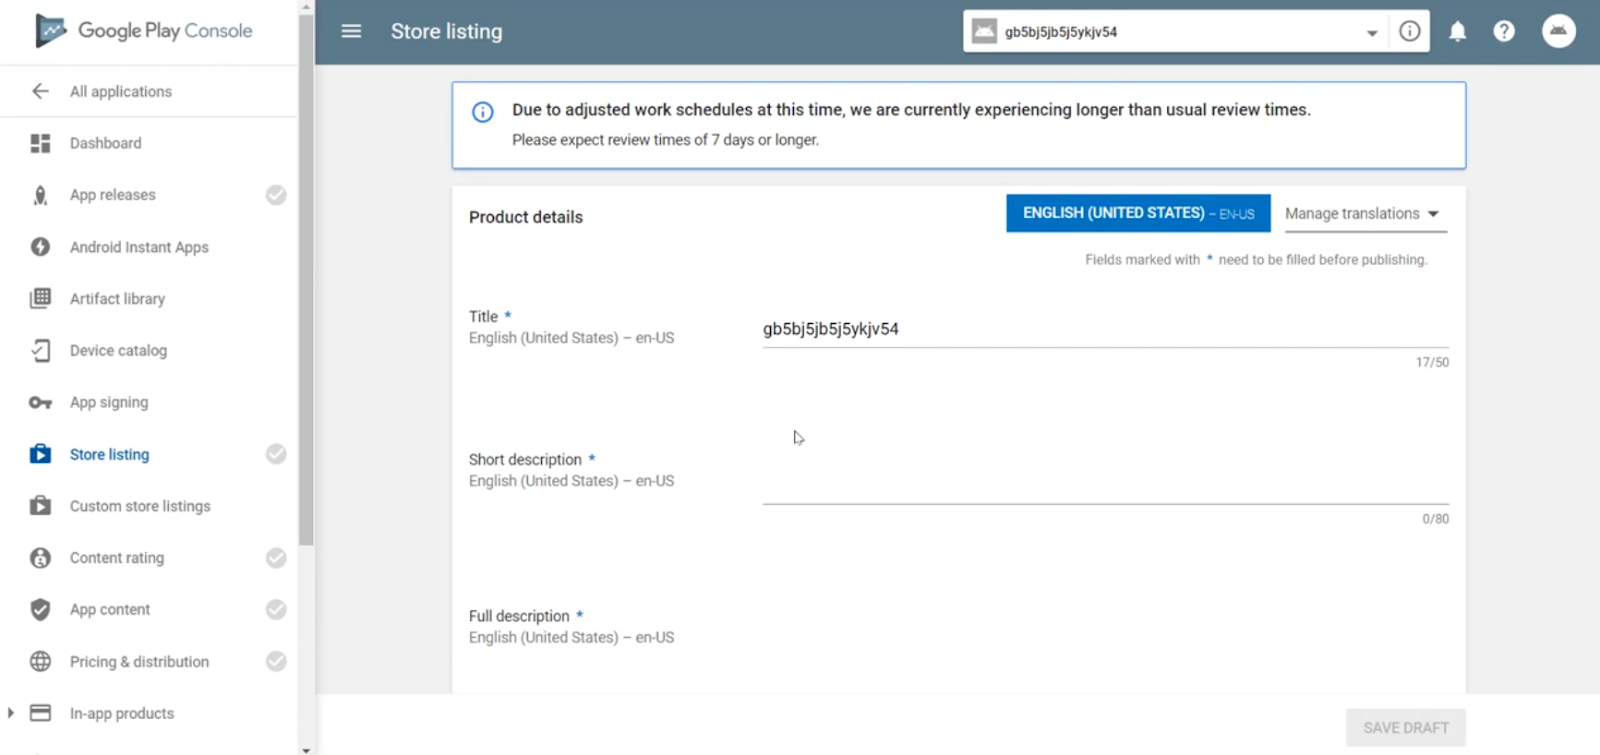
Step 3: Store listing
After completing step 2, you will be led to this page, where you must enter the app's full and short descriptions.
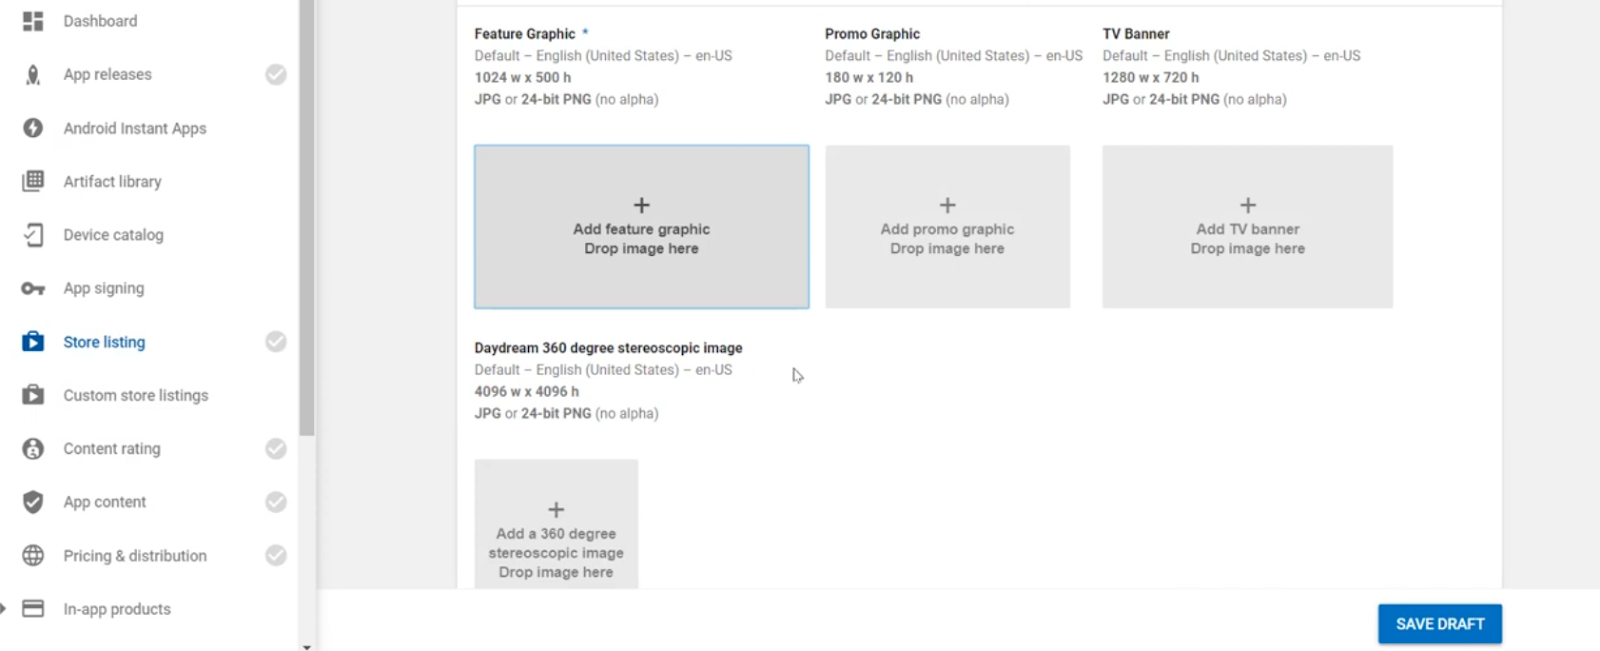
The Hi-res icon for your app must now be added this can be done by scrolling down the page.

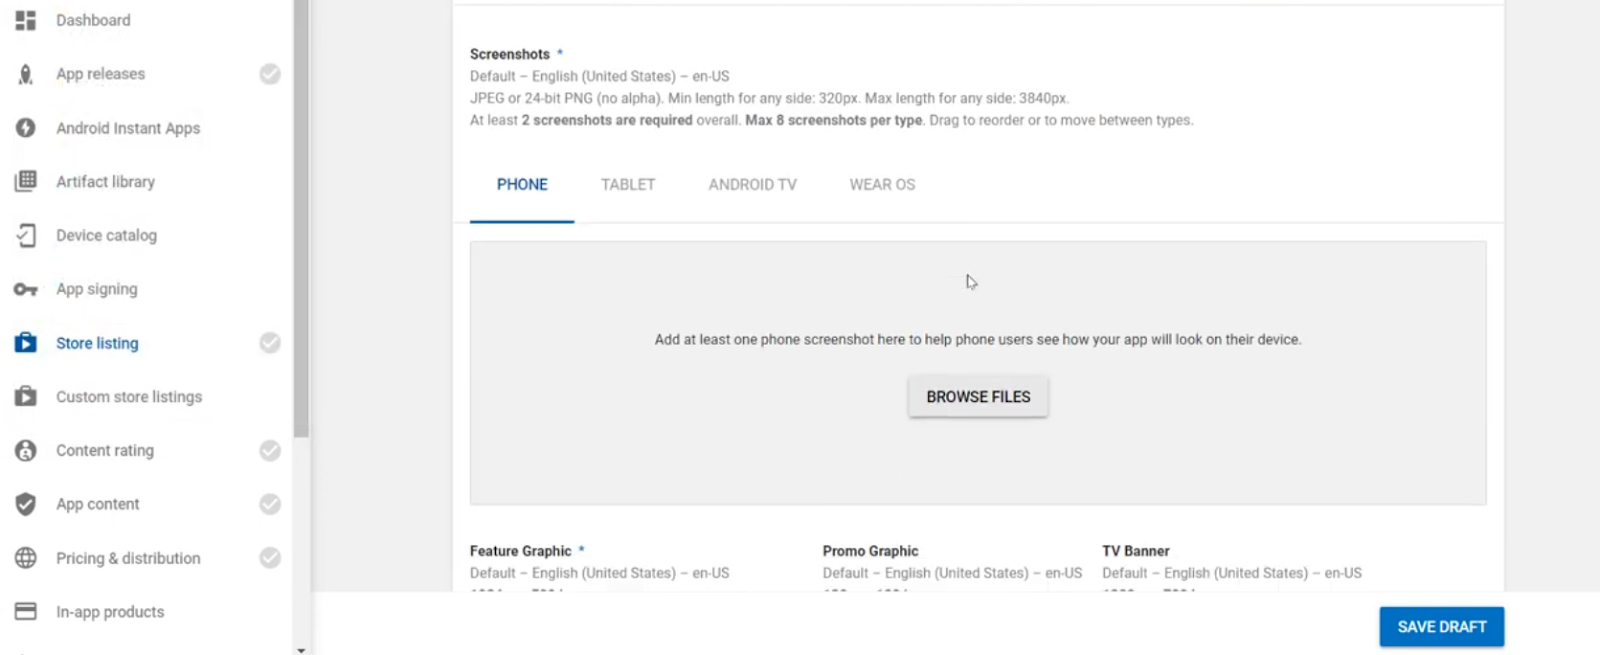
Then you have to provide screenshots of your app.
The Feature Graphic for your app is the next thing you need to submit. The graphic is then utilized anywhere your program is promoted on Google Play, so take note of this.
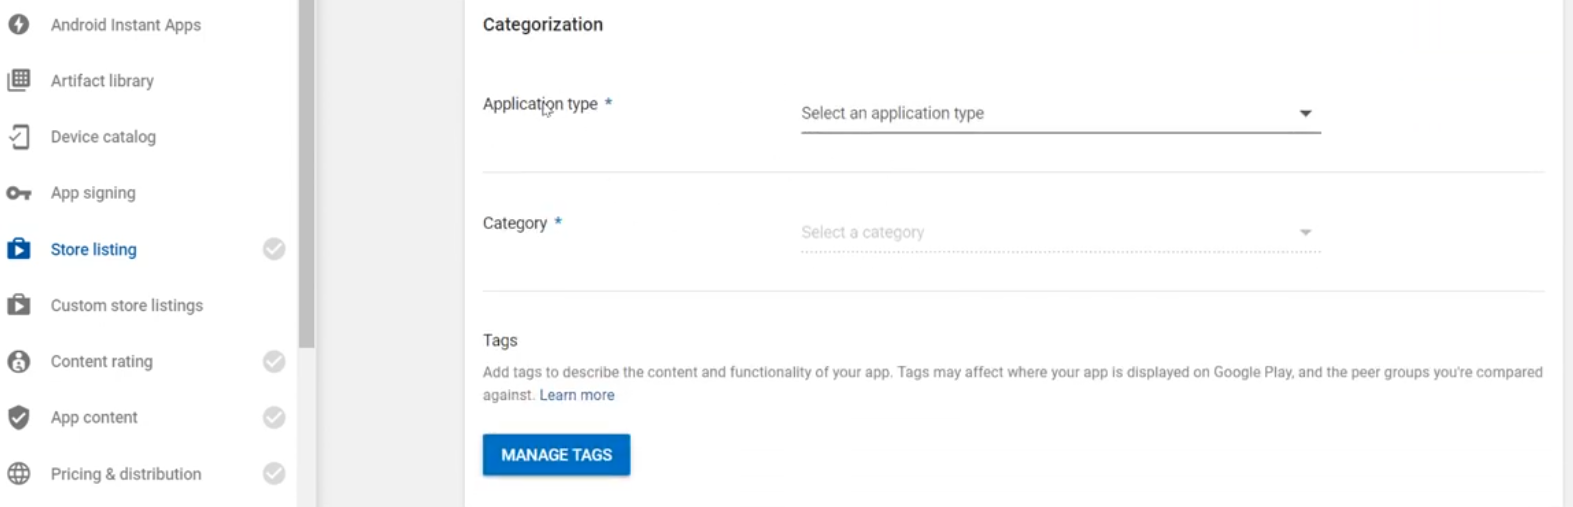
Next, move on to the category section, where you must provide the type and classification of your application.
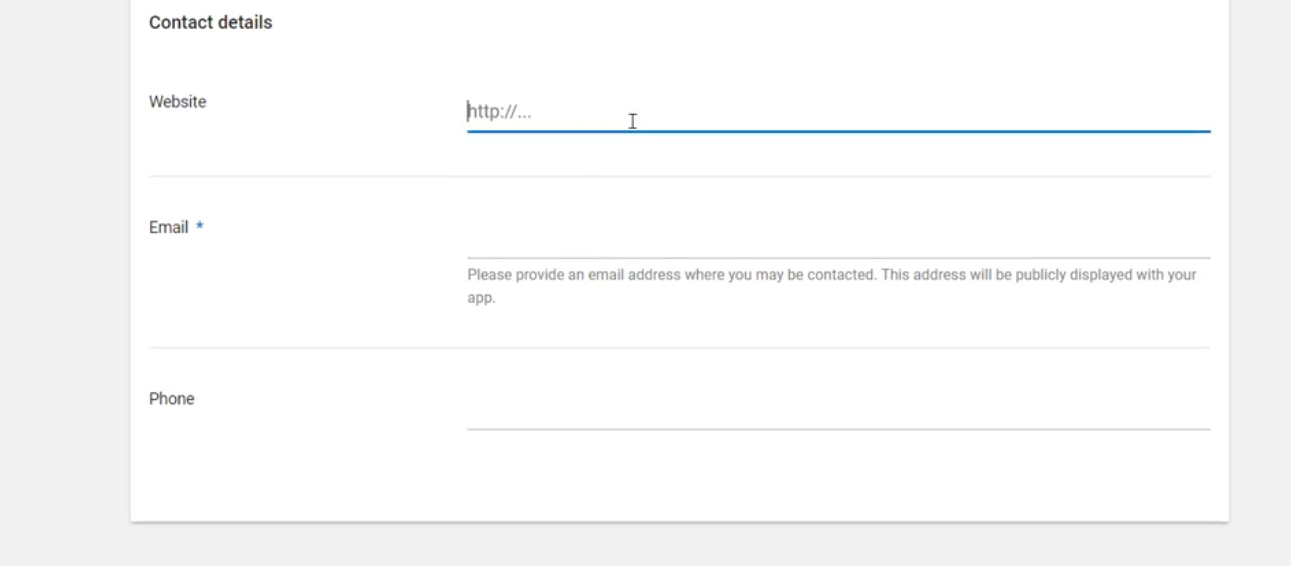
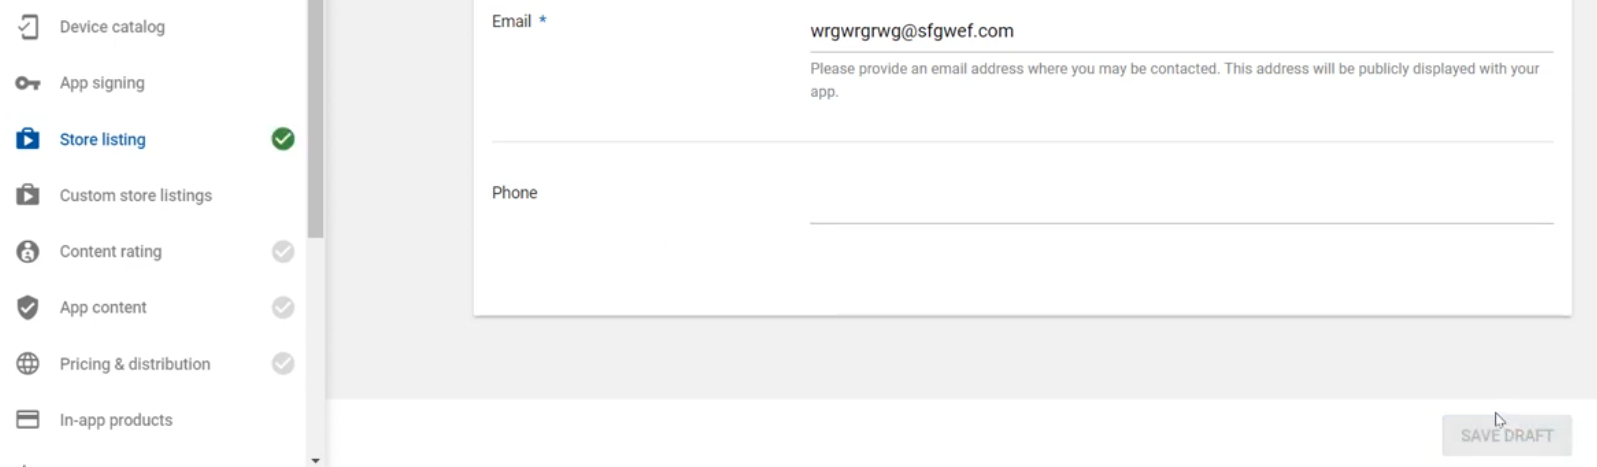
The next section is "Contact Details," where you must include your website (if applicable), email address, and phone number.
Finally, you can see that the Store listing tab is now green and that you are finished with the Store listing when you click the SAVE DRAFT button.
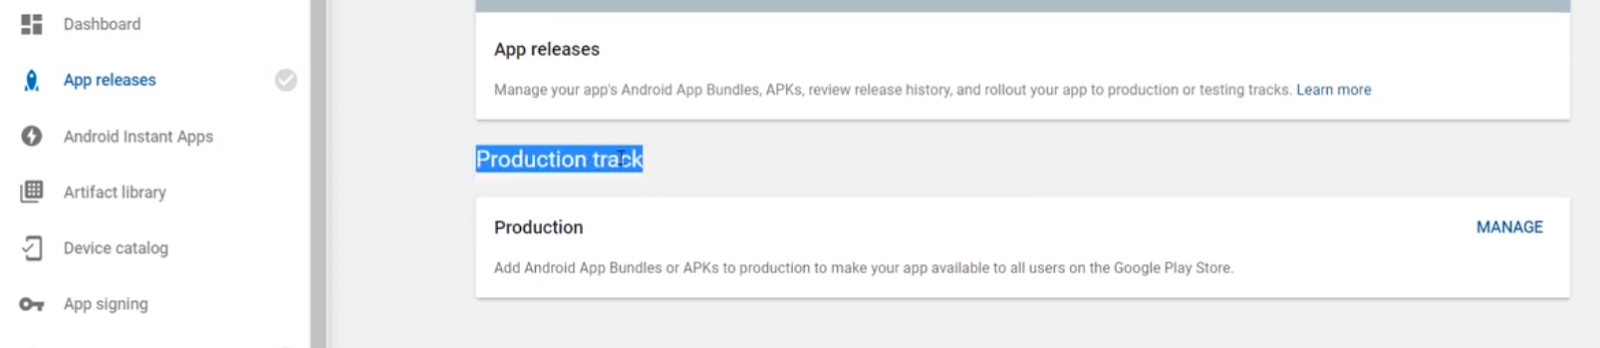
Step 4: App release
Go to App releases after completing step 3, then go down to the Production track and click the MANAGE option.
After being redirected to the next page, click on the "Create Release" button.

After that, on the next page, you have to upload your APK file in the Android App Bundles and APKs to Add section.
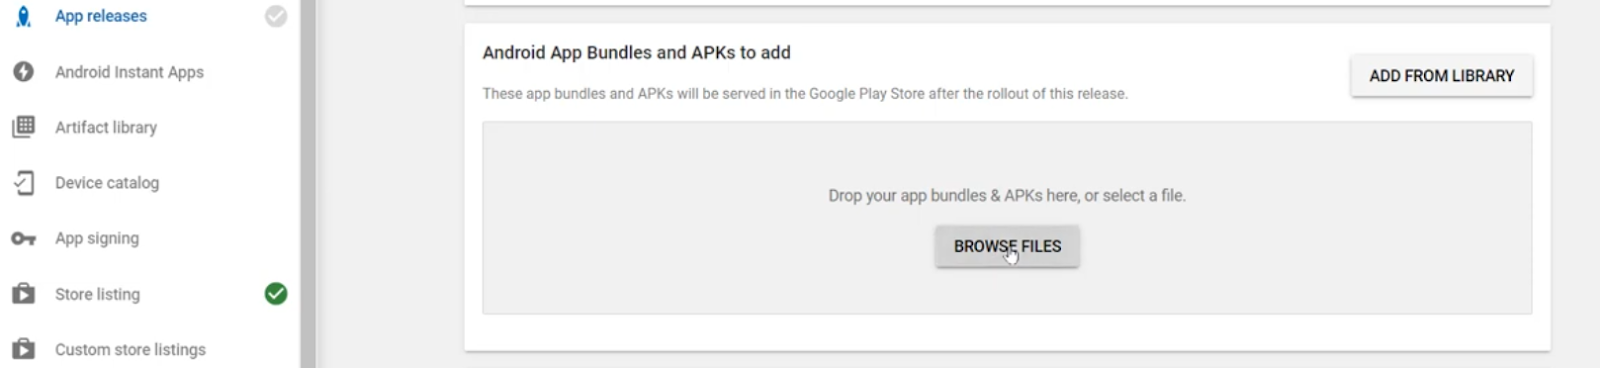
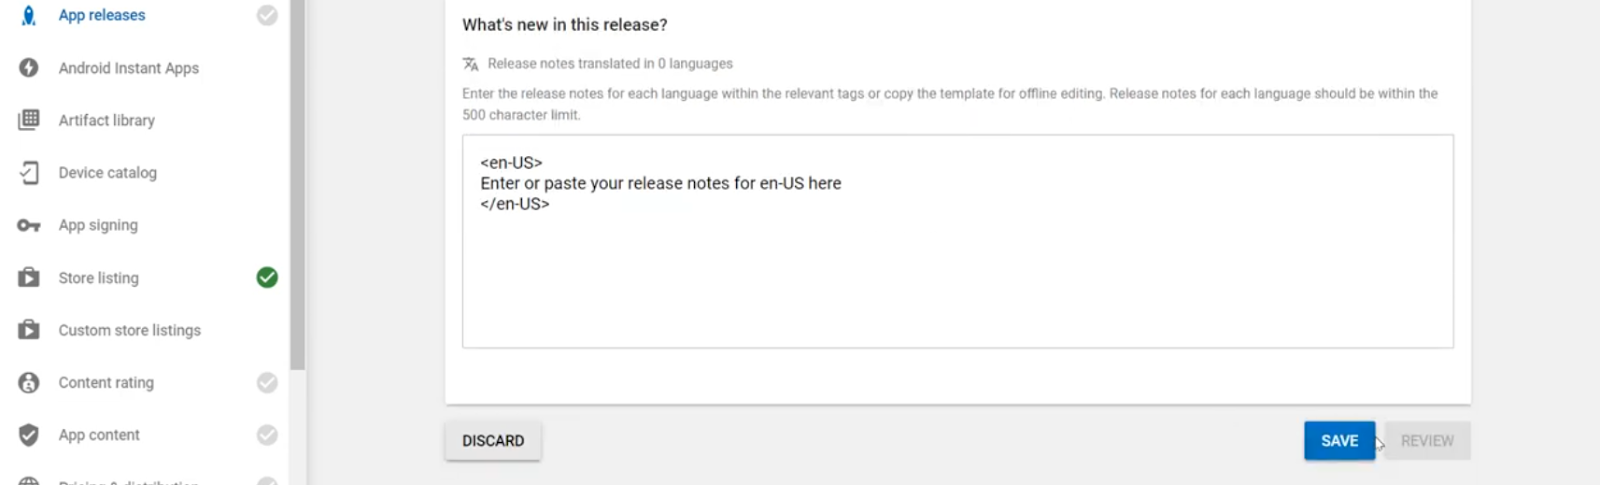
After that, click on the SAVE button.
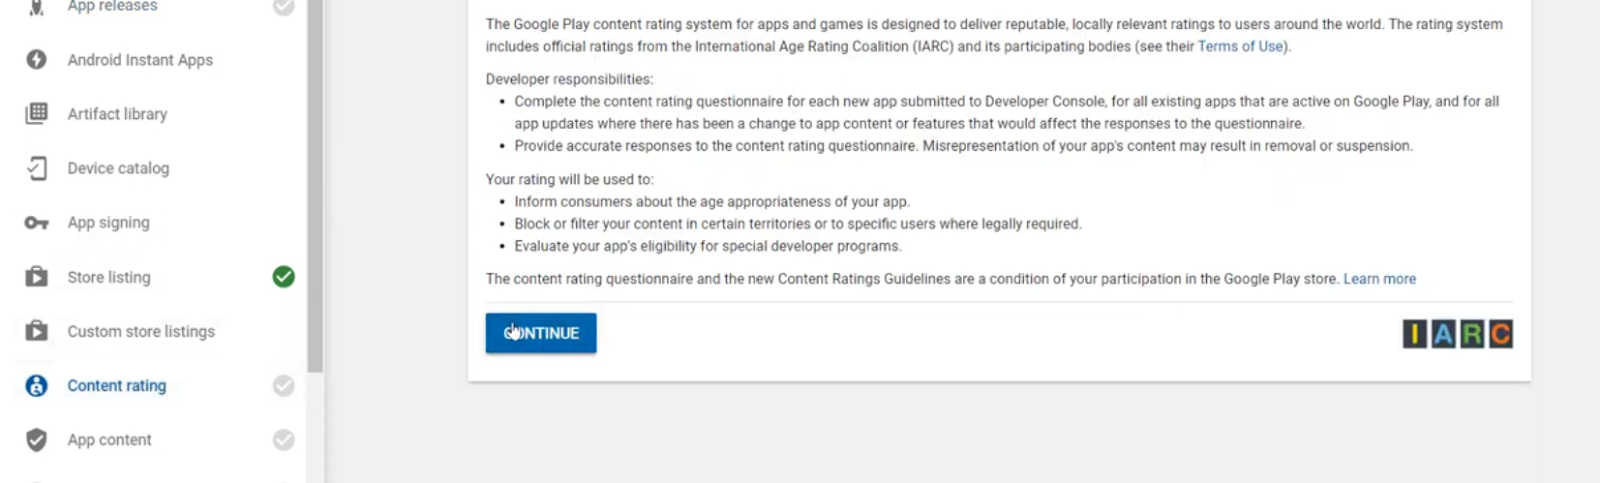
Step 5: Content rating
Go to Content Rating and click the CONTINUE button after completing Step 4.
Complete the form by entering your email address and then confirming it.
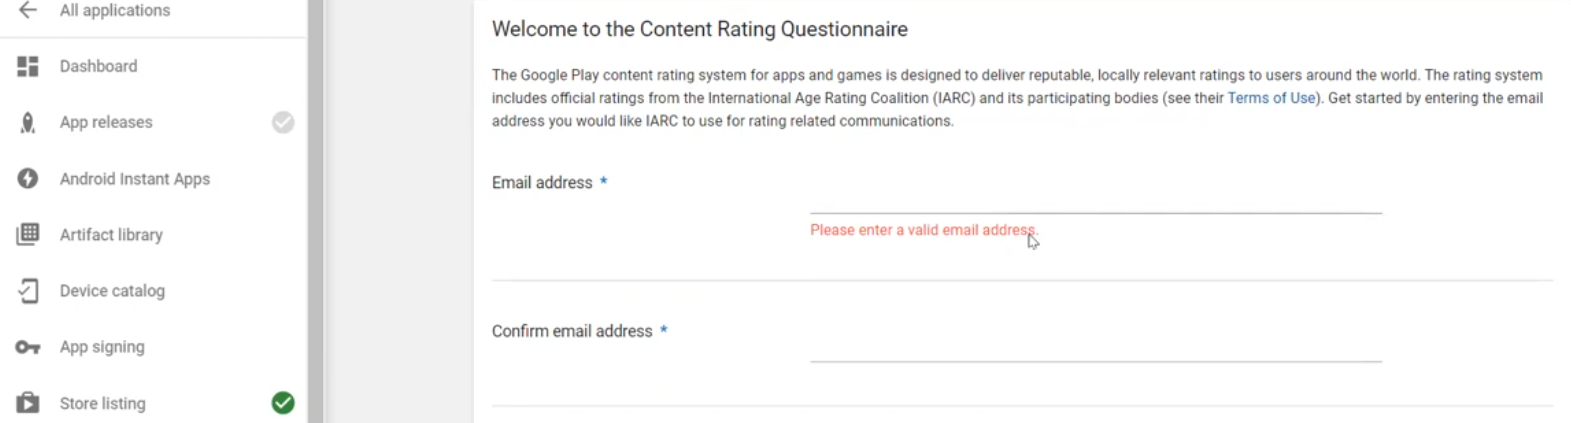
Next, choose your app category.
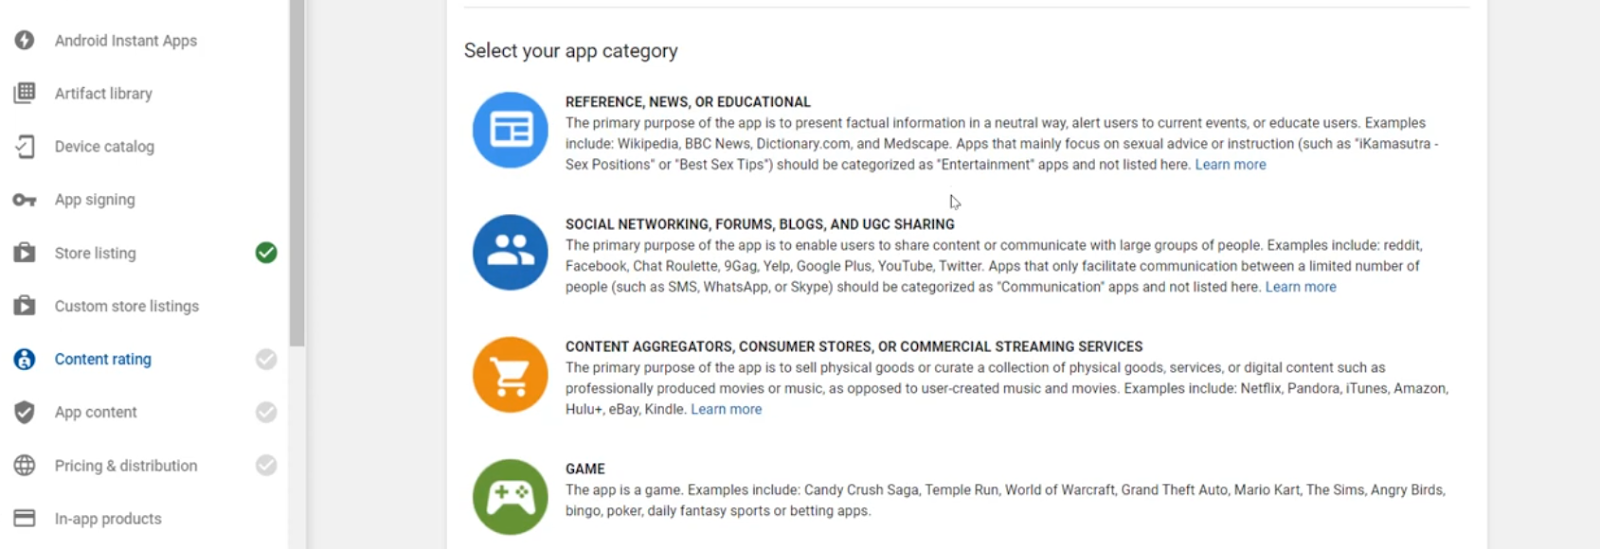
Ensure that you read all of these and provide the appropriate answers after choosing your app category.

Don't forget to click "Save Questionnaire" once you've answered the questions correctly.

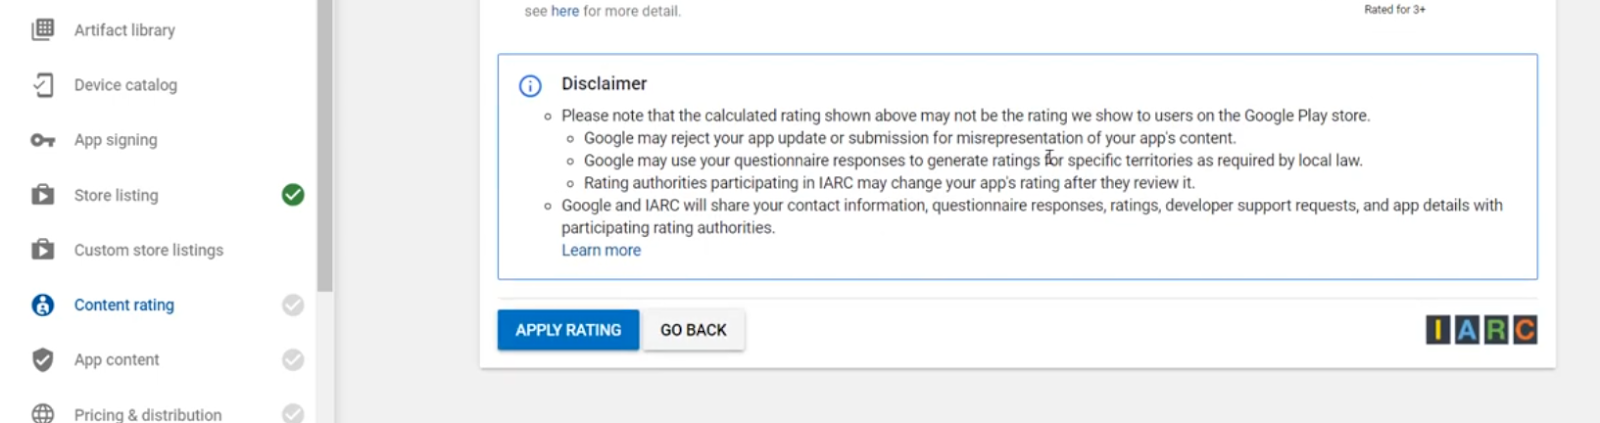
After saving everything, select the CALCULATE RATING option.

After being forwarded to a different page, scroll down and select the "Apply Rating" button. The content and time rating sections are now complete. The Content Ratings area has now turned green, so keep that in mind.
Step 6: Pricing & distribution
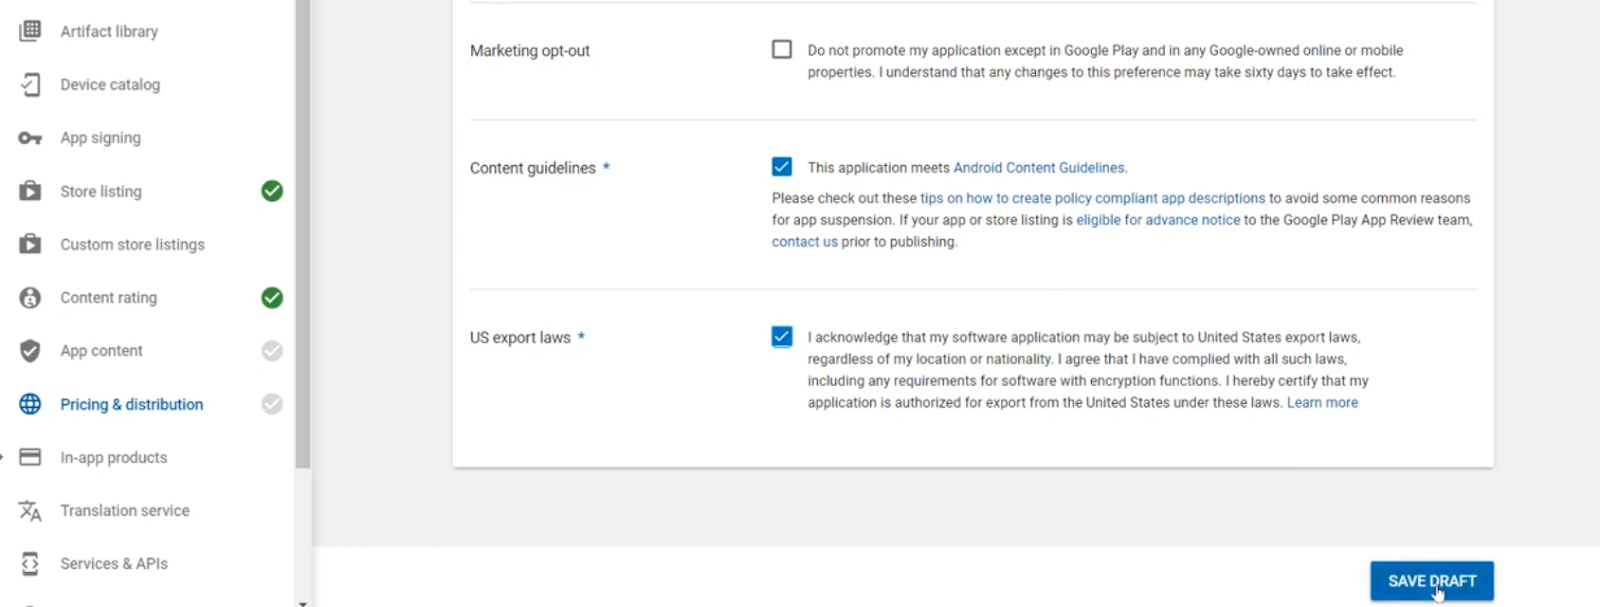
Then go to the Pricing & Distribution section. Then choose which countries you want your app to be available in.
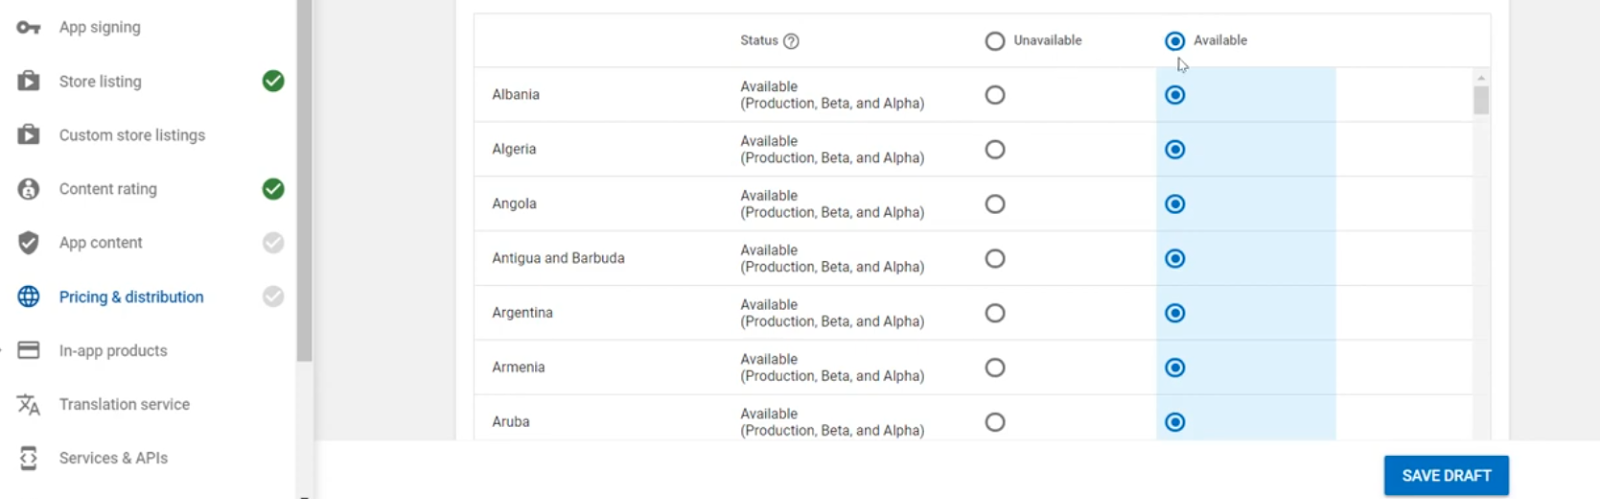
Then go down and check out the US export rules and content guidelines sections, checking them out as you go. Afterwards, press the SAVE DRAFT button. Don't forget to take note of the pricing and distribution section's new green tick.
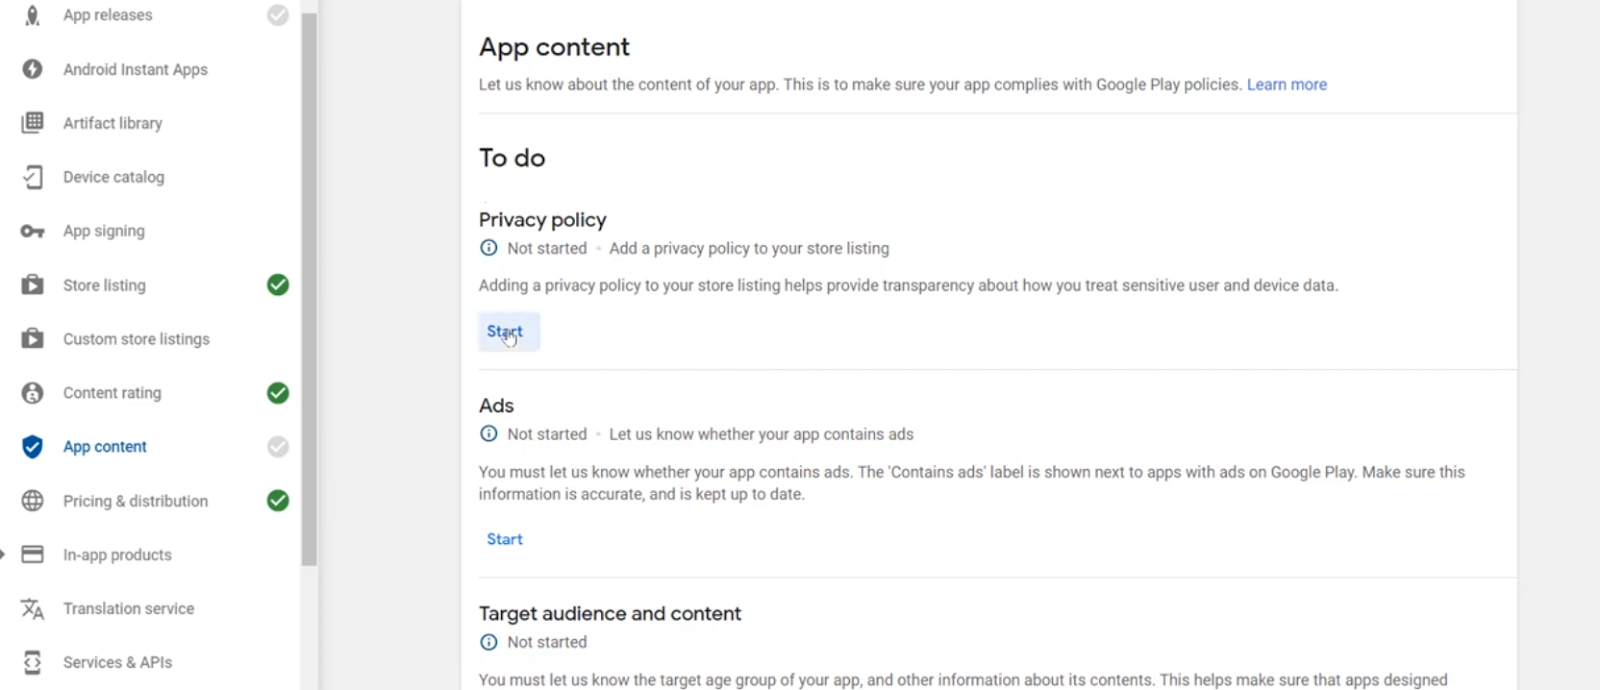
Step 7: App content
Visit the App content area next. Click the Start button under the Privacy Policy section.
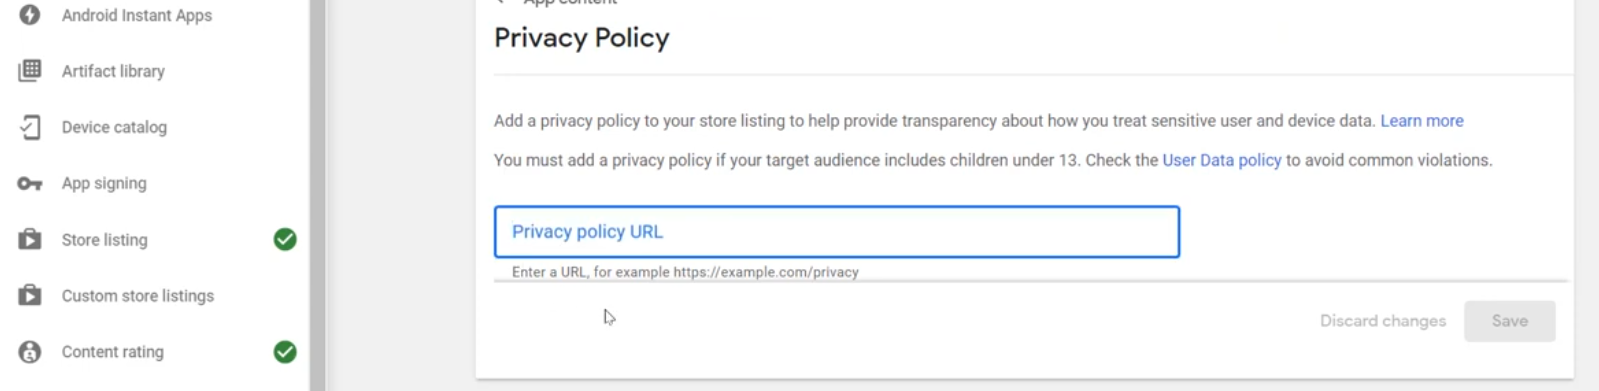
Then provides a valid privacy policy URL. Please keep in mind that Google will investigate this.
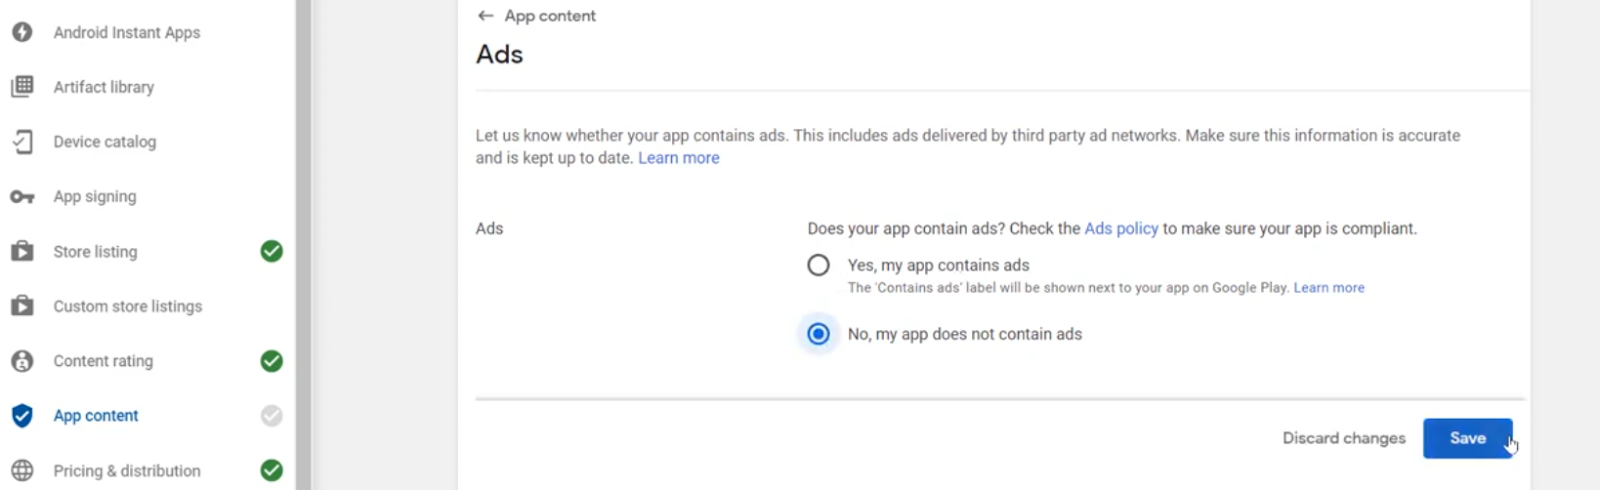
Clicking the start button in the Ads section will then take you to the subsequent steps.

Then answer the question, "Does your app contain ads?" after that. then press the SAVE button.
Then again, return and carry out the remaining stages by using the Start button in the Target Audience and Content area.
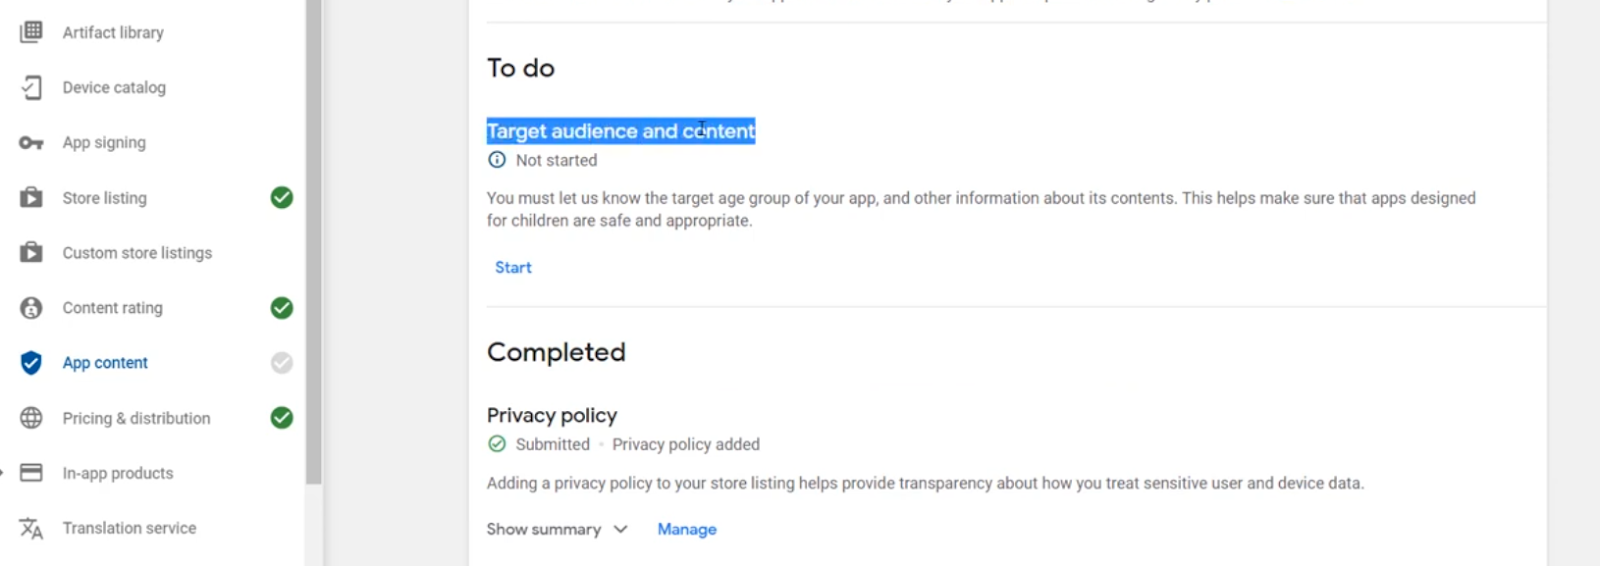
Select the Target age group, scroll down, and click the Next button on the following page.
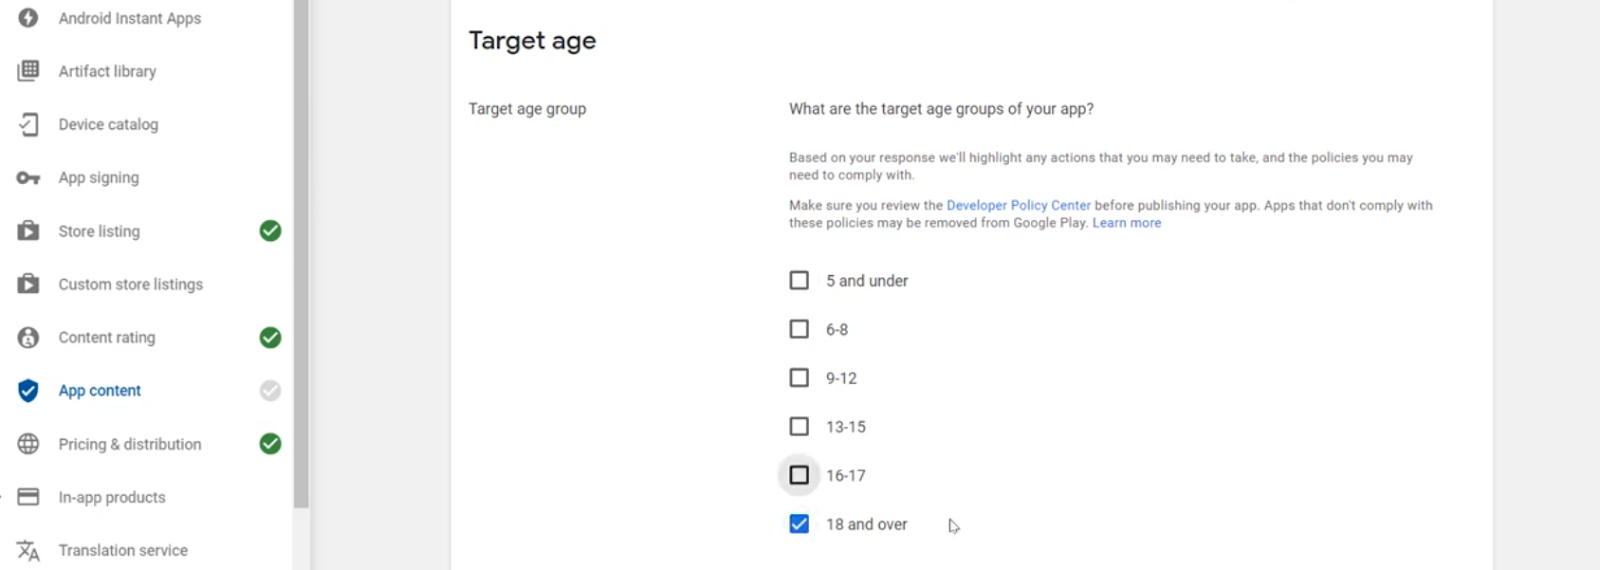
Then look at the area for youngsters. Then press the next button.

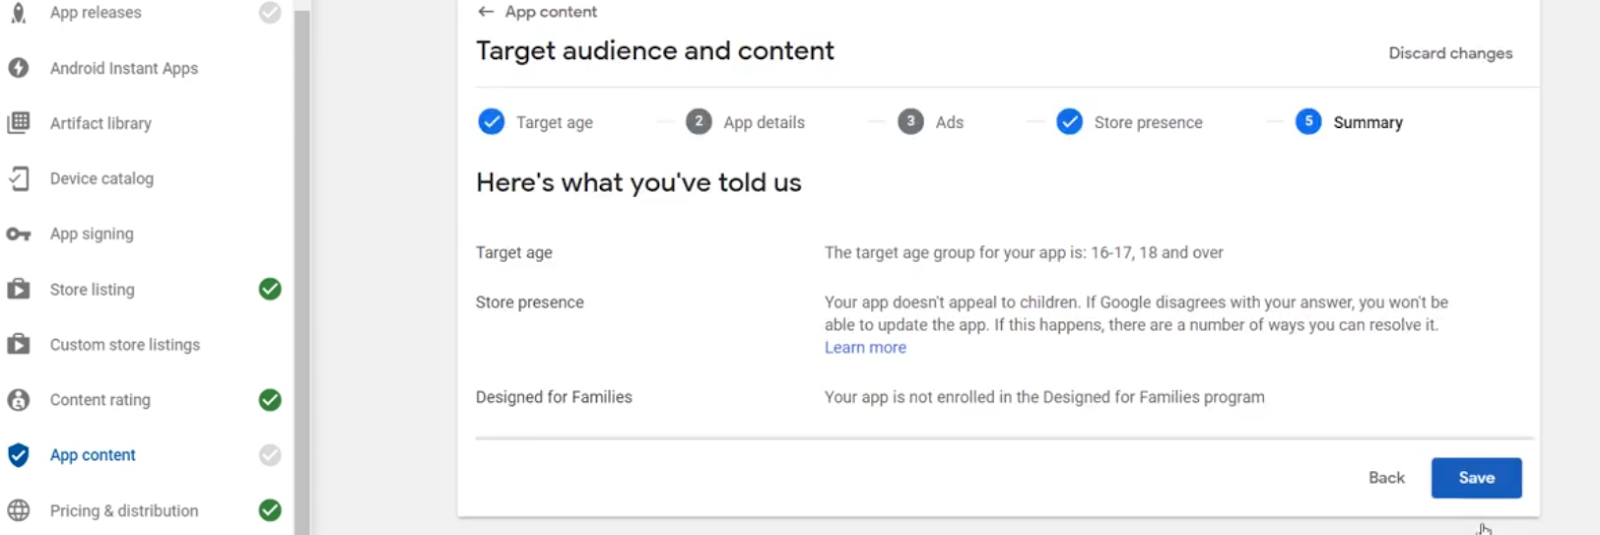
On the next page click on the Save button and you are done with the App content section.
Step 8: App releases
Return to the App releases area once more. Click the EDIT RELEASE button in the Production track.

Then, on the following page, scroll down and click on the REVIEW button.
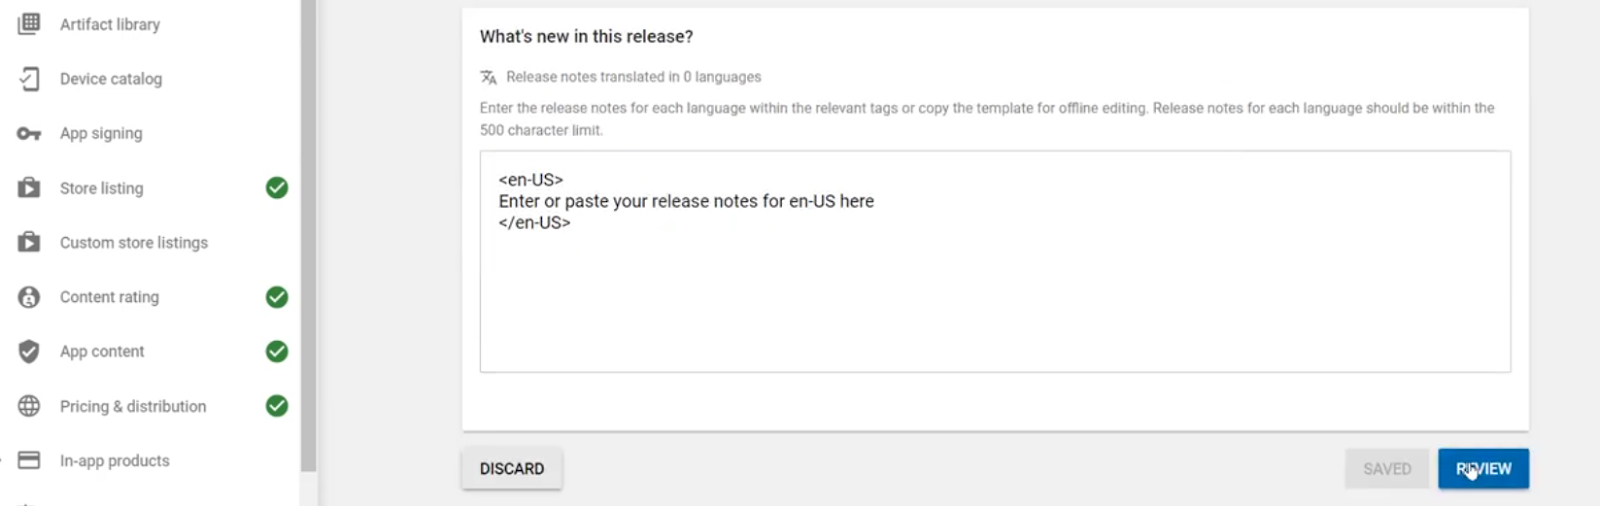
Finally, send your app for evaluation by clicking the START ROLLOUT TO PRODUCTION button on the following screen. Finally, you're done.